 Bellingham Siding
 New-Construction Windows Built for Columbia's Coastal Climate
Columbia sits close enough to Bellingham Bay that salt air, wind-driven rain, and the long gray stretch of moss season all show up in how a house ages. When you're framing a new home or a major addition in this neighborhood, the windows you choose and how they're installed will do more to determine your home's long-term dryness and comfort than almost any other single decision. New-construction windows aren't just "bigger replacement windows" — they're a different product installed with a different method, and getting that method right the first time matters more here than it does in drier parts of the state.
This page covers what Columbia homes specifically need from new-construction window installation, what a correct job actually involves, and why working with a crew that already knows this stretch of Whatcom County saves you problems down the road.
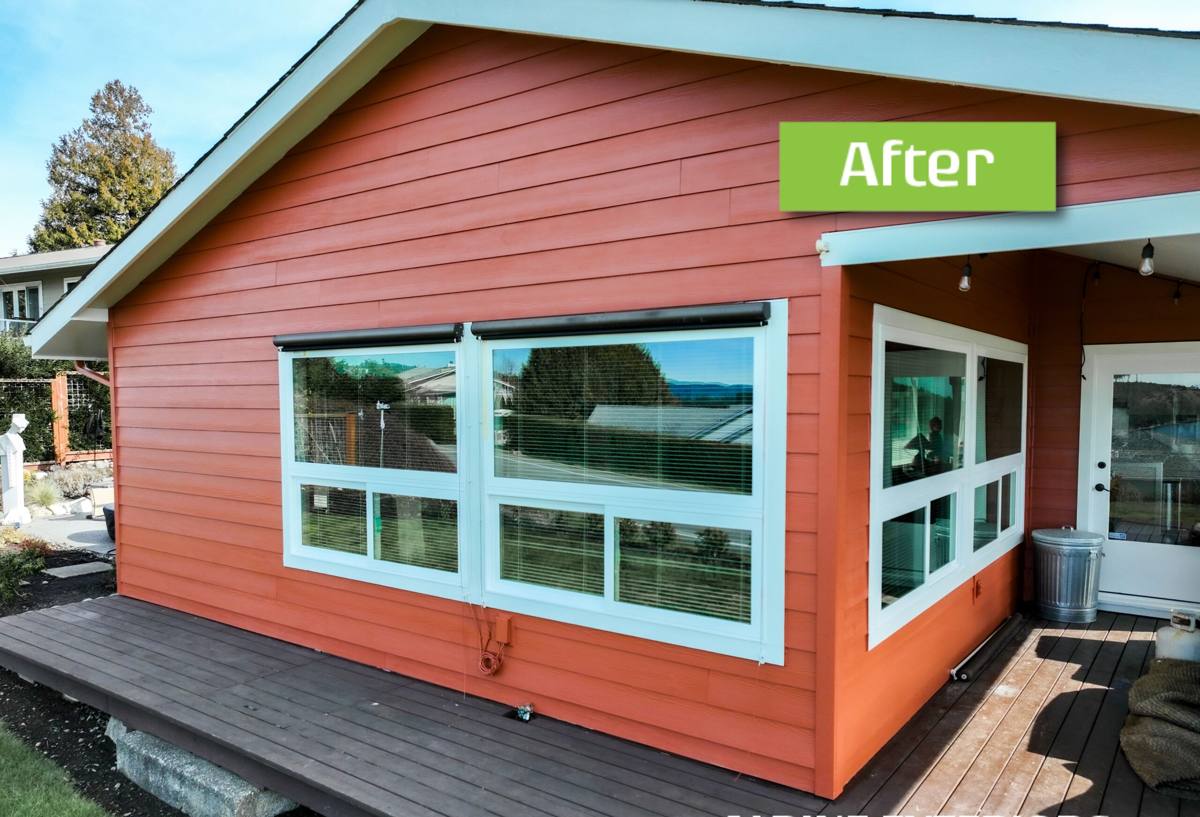
What Bellingham's Weather Demands From New-Construction Windows
Salt Air and Coastal Exposure
Columbia's proximity to the bay means airborne salt settles on exterior surfaces year-round, not just during storms. Salt accelerates corrosion on unprotected fasteners and lower-grade hardware, and it can be harsh on certain finishes over time. Window selection and flashing details need to account for this, especially on the west- and south-facing elevations that catch the most weather.
Driving Rain and Wind-Driven Moisture
Rain in Whatcom County rarely falls straight down. Storms off the water push moisture sideways against walls and window openings, which means water is testing your flashing and sealant joints far more often than in a calm-rain climate. A window that's watertight in a light, vertical rain can still leak under wind-driven conditions if the rough opening wasn't flashed correctly.
Moss Season and Prolonged Damp
Bellingham's long wet season — often stretching from fall through spring — keeps exterior surfaces damp for extended periods. That prolonged moisture is exactly the environment moss, algae, and wood rot need to take hold. Any gap in flashing or sealant around a window opening becomes a slow, hidden entry point for moisture that can sit against sheathing and framing for months before it's ever noticed.
New-Construction vs. Replacement Windows: Why It Matters
One of the most common points of confusion for homeowners building or adding onto a home in Columbia is the difference between a new-construction window and a replacement window. They are not interchangeable, and using the wrong type — or having a crew install a new-construction window like a replacement — is one of the more common causes of early leaks we get called to fix.
| Feature | New-Construction Window | Replacement Window |
|---|---|---|
| Frame design | Built-in nailing fin around the perimeter | No nailing fin; fits inside an existing frame |
| Best used for | New builds, additions, full wall openings | Swapping a window into an existing, intact frame |
| Water management | Flashed directly to the building's water-resistive barrier | Relies on the condition of the existing frame and flashing |
| Installation access | Installed before siding goes on, from the outside | Installed from inside or outside an existing opening |
| Long-term performance in this climate | Highest, when flashed correctly into the wall system | Only as good as the existing opening it's set into |
For a new-construction project in Columbia, the nailing-fin window tied into a properly sequenced flashing system is the standard we build to. It gives us direct control over how water is shed away from the opening, which is the single biggest factor in how the window performs through a Bellingham winter.
What a Correct New-Construction Window Installation Involves
Flashing and Water Management
Before a window ever goes into the opening, the rough opening itself needs to be prepared correctly. That means a sloped sill pan to direct any incidental water back outward, properly lapped flashing tape at the sill, jambs, and head, and a water-resistive barrier that integrates with the flashing rather than fighting it. This sequencing — sill first, then jambs, then head, each layer overlapping the one below it — is what keeps water moving down and out instead of finding its way behind the siding.
Nailing Fin Installation and Sealing
The window's nailing fin gets fastened through the sheathing into solid framing, then sealed and taped so it becomes part of the continuous water barrier for the wall. Skipping or rushing this step is invisible on installation day and often invisible for a year or two afterward — until a wind-driven storm finds the gap.
Window Selection for the Whatcom County Climate
Frame material, glass package, and hardware all need to hold up to salt air and sustained dampness, not just look good on day one. We factor in sun exposure, wind exposure, and how close the opening is to the bay-facing side of the house when helping homeowners choose between options.
Frame Materials and Glass Options for Coastal Whatcom County
| Frame Material | Strengths in This Climate | Trade-Offs to Consider |
|---|---|---|
| Vinyl | Budget-friendly, low maintenance, resists moisture well | Limited color/finish options over time; frame can flex on large units |
| Fiberglass | Very stable, resists warping and corrosion, strong seal life | Higher upfront cost than vinyl |
| Wood-clad | Classic look, good insulating properties | Exterior cladding and seals need attention in a wet, salty climate; interior wood needs protection from condensation |
| Aluminum | Strong, slim sightlines | Conducts cold and can be more prone to corrosion near salt air without a quality finish |
For most new-construction projects in Columbia, we lean toward vinyl or fiberglass frames paired with a dual-pane, low-E glass package, because they balance moisture resistance, energy performance, and reasonable long-term maintenance. Wood-clad units still have a place where the design calls for it, but they need more disciplined maintenance in this environment, and we're upfront with homeowners about that before they commit.
Our Process for Columbia New-Construction Window Projects
- On-site walkthrough of the framed openings and building plans, checking rough opening sizes, orientation, and wind/rain exposure for each elevation.
- Window and glass package recommendations based on that specific home's exposure — not a one-size-fits-all spec.
- Sill pan and flashing prep before a single window is set, following manufacturer flashing instructions and best-practice water-resistive-barrier integration.
- Window installation, plumb and square, fastened through the nailing fin into solid framing.
- Flashing tape and sealant applied in the correct shingle-lap sequence at jambs and head.
- Interior and exterior sealing and trim prep, coordinated with your siding and trim crew so the water barrier stays continuous.
- Final walkthrough with the homeowner or builder before siding closes the opening in.
That last step matters more than it sounds like it should. Once siding goes on, the flashing details behind it are hidden for the life of the house. We treat that walkthrough as the last real chance to confirm everything is right before it's covered up.
A Homeowner's Checklist Before Installation Day
- Confirm final window sizes and swing/slide direction match the approved plans.
- Verify glass package (low-E coating, gas fill, pane count) matches what was quoted.
- Check that rough openings are framed square and to the correct dimensions before windows arrive.
- Ask what happens if weather delays installation — how are open rough openings protected in the meantime.
- Confirm who is responsible for interior and exterior trim, and how that work is sequenced with window installation.
- Ask for the flashing method in writing, especially if you're coordinating between a general contractor and a window/siding installer.
Why Hiring a Crew That Already Works in Columbia Matters
New-construction window installation is one of those jobs where the manufacturer's instructions only get you partway there — the real skill is in adapting standard flashing details to how a specific house is framed, which direction it faces, and how much weather that particular wall actually sees. A crew that's already worked on other Columbia and greater Bellingham homes has a feel for which elevations need extra attention, how local siding and trim crews sequence their work, and what inspectors in Whatcom County are looking for at framing and flashing inspections. That local familiarity shows up as fewer surprises and fewer callbacks, not as something you can see on day one.
It also means we're not learning your climate on your project. We've seen what happens when flashing is rushed on a bay-facing wall, and we build our process specifically to avoid it.
Maintenance After Installation
Even a correctly installed window benefits from a little seasonal attention in this climate. Rinse accumulated salt film off frames and glass periodically, especially on bay-facing elevations. Keep an eye on exterior sealant joints for cracking or separation, particularly after the first full winter, when materials have gone through their first freeze-thaw and wet-dry cycle. Keep gutters and downspouts clear so water isn't sheeting down across window heads during heavy rain. None of this replaces a correct installation, but it extends the life of one.
If you're planning a new build or addition in Columbia and want windows that are sized, selected, and flashed for what this climate actually does to a house, we're happy to walk the plans with you. Reach out for a free, no-pressure estimate — there's a form right below this page to get started.