 Bellingham Siding
 Siding Repair in Ferndale: Why the Coast and the Rain Both Matter
Ferndale sits close enough to the Salish Sea that salt-laden air is part of daily life, and far enough into Whatcom County's wet-season weather pattern that siding rarely gets a real break to dry out. That combination is harder on exterior cladding than most homeowners realize. A siding repair here isn't just about matching a color or patching a hole — it's about understanding what salt air, driving rain, and a long moss season have already done to the wall behind the siding, and making sure the fix addresses that, not just the visible symptom.
We work on homes throughout Bellingham and the surrounding Whatcom County communities, and Ferndale jobs have their own pattern. Homes closer to open water or exposed to prevailing wind take salt exposure that inland Bellingham neighborhoods don't see as heavily. Properties tucked under mature tree cover fight moss and constant shade instead. A repair plan that ignores which of those forces is actually at work on a given house tends to fail again within a couple of seasons.
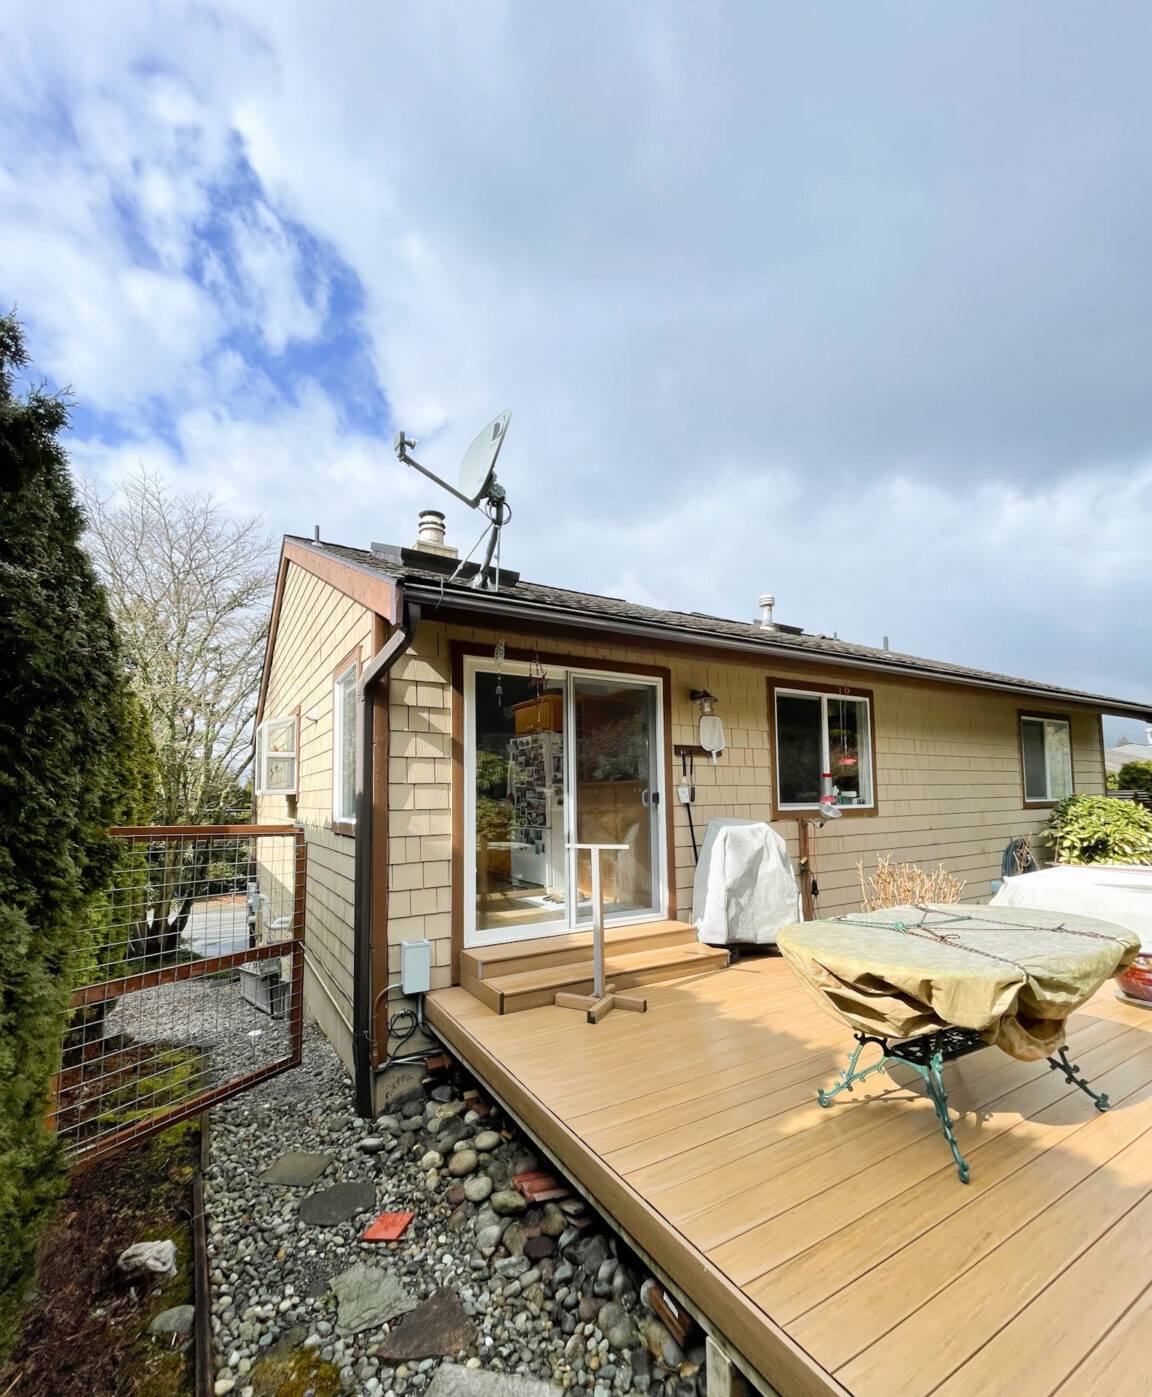
What Ferndale's Climate Actually Does to Siding
Salt Air
Airborne salt is corrosive to fasteners, flashing, and any exposed metal trim long before it does visible damage to the siding material itself. On older homes, we regularly find that the siding looks intact while the nails or staples holding it have started to corrode underneath. That's a slow failure — boards loosen, joints open up, and water starts getting behind the wall through gaps that weren't there when the house was built.
Driving Rain
Whatcom County doesn't just get a lot of rain — a good share of it comes in sideways during winter storms, which pushes water into joints, seams, and butt ends that were never designed to handle standing moisture. Siding that's rated for average exposure can still take on water at the seams if caulking has failed or flashing was installed short. Once water gets behind the cladding, the problem stops being cosmetic and starts being structural.
Moss Season
Ferndale's growing season for moss is long — shaded north walls and areas under overhangs or trees can stay damp for months at a stretch. Moss holds moisture directly against the siding surface, which accelerates rot in wood-based products and stains and degrades finishes on almost anything it colonizes. Left alone, it doesn't just look bad — it actively feeds the moisture problem underneath it.
Signs Your Siding Needs Repair Now
Most siding failures give warning signs well before they turn into a bigger project. In our experience working on homes in this area, these are the ones worth acting on quickly:
- Soft or spongy spots when you press on a wall, especially near the bottom courses or around windows
- Visible gaps at butt joints, corners, or trim where caulking has shrunk, cracked, or disappeared entirely
- Moss or dark streaking that keeps coming back within weeks of cleaning
- Bubbling, peeling, or bulging paint or finish, which usually means moisture is trapped underneath
- Rust staining running down from nail heads or metal flashing
- Boards that have visibly warped, cupped, or pulled away from the wall
- A musty smell in an interior room along an exterior wall, which can mean moisture has already worked its way through
None of these automatically mean the whole house needs new siding. Most of the time they mean a specific section failed and needs to be opened up, assessed, and corrected properly — which is exactly what a repair should do.
What a Correct Siding Repair Job Involves
A repair that only replaces the boards you can see is a repair that's likely to fail again. Doing it right means treating the damaged area as a window into the wall assembly, not just a cosmetic patch. Our approach generally follows this order:
- Remove the damaged siding and inspect the house wrap, sheathing, and framing underneath for rot, staining, or soft wood
- Identify how water actually got in — a failed seam, missing flashing, bad caulk joint, or a nailing pattern that split the board and opened a path for moisture
- Replace or repair any compromised sheathing or framing before anything new goes back on the wall
- Correct the underlying cause — re-flash a window, fix a J-channel, add or repair a drip cap — so the same failure doesn't happen again in the same spot
- Install matching siding material, cut and fastened to manufacturer spec, with proper gapping at joints for the region's moisture and temperature swings
- Reseal and finish so the repaired section blends with the surrounding wall instead of standing out as an obvious patch
Skipping any of these steps is how a five-year-old "repair" turns into a rotted wall section by year eight. It's also the most common reason we get called to fix work someone else already did once.
Repair or Replace? How We Make That Call
Not every damaged section needs a full re-side, and not every home is a good candidate for a patch-and-move-on repair. We look at a few honest factors before recommending either path:
| Factor | Favors Repair | Favors Full Replacement |
|---|---|---|
| Extent of damage | Isolated to one or two wall sections | Recurring failures across multiple elevations |
| Age of existing siding | Newer material still within its useful life | Original siding is decades old and near end of service life |
| Underlying sheathing condition | Sound, dry framing found once opened up | Widespread rot or moisture damage behind the cladding |
| Material match | Matching product still available or close enough to blend | Discontinued product with no reasonable match |
| Cost over time | Lower upfront cost, addresses a specific problem | Better long-term value when damage is widespread |
We'll tell you plainly which side of that table your house falls on. If a repair is the honest answer, that's what we'll recommend — we don't upsell a full re-side when a targeted fix will hold up.
Common Repair Scenarios We See Around Ferndale
A few patterns show up often enough on Ferndale homes that we plan for them before we even start the inspection. Homes with west- or south-facing exposure toward open water tend to show fastener corrosion and finish degradation first, since they're catching both the salt-laden wind and direct weather. Homes surrounded by trees or set back from the road with heavy shade tend to show moss-driven rot concentrated on north walls and under eaves, where the siding almost never fully dries between rain events. Older farmhouses and homes on larger rural lots outside the more built-up parts of town often have a mix of siding generations from past additions or partial re-sides, which makes matching material for a clean repair its own challenge. Whichever pattern applies, the fix has to match the actual cause, not just the visible damage.
Why We Repair and Rebuild With James Hardie Fiber Cement Only
When a repair calls for new siding material — whether it's a few boards or a full section — we use James Hardie fiber cement exclusively. We don't install vinyl, LP SmartSide, Cemplank, Allura, or primed wood species like spruce or cedar, and that's a deliberate standard, not an oversight.
Vinyl expands and contracts more than fiber cement in temperature swings and can crack or warp at fastener points over time; it also isn't a great match when you're trying to blend a repair into an aging wall. Engineered wood products like LP SmartSide perform well when installation is flawless, but they're more sensitive to sustained moisture exposure than fiber cement, which matters directly on a coastal, high-rainfall property like most homes in this area. Primed solid wood siding needs more frequent maintenance and repainting to keep water out, and once a joint fails, wood rot spreads faster than it does in cement-based material. Other fiber cement brands exist, but we've standardized on Hardie's HZ product lines specifically because they're engineered for this region's moisture and temperature profile, backed by a factory-applied ColorPlus finish that resists fading and chipping, and supported by a strong transferable warranty.
On a repair, that consistency matters even more than on new construction — you're tying new material into an existing wall, and you want confidence that the patch will age the same way the rest of the house does.
Our Process, Start to Finish
We keep the repair process straightforward and communicate clearly at each step:
- A free, no-pressure inspection where we look at the damaged area and, where needed, open it up enough to see what's happening underneath
- A plain-English explanation of what caused the damage and whether repair or replacement is the right call for that section
- A written estimate that separates material, labor, and any sheathing or framing repair so you know exactly what you're paying for
- Scheduled work that addresses the root cause, not just the surface
- A final walkthrough so you can see the completed repair before we consider the job done
Why Hiring a Crew That Already Works Ferndale Matters
Siding repair done wrong is expensive twice — once for the repair, and again a few years later when it fails the same way. A crew that already works in and around Ferndale has seen how salt air, driving rain, and moss actually behave on homes in this specific area, not just in a general Pacific Northwest sense. That familiarity shows up in small decisions that matter: how much gap to leave at a joint given local humidity swings, where flashing tends to fail first on homes facing the water, and which wall orientations need extra attention to moss and shade. It also means we're a known, reachable local business if a question comes up after the work is done — not a crew that drove in from out of the area for one job and won't be back.
If you're seeing damage, staining, or soft spots on your siding, we're happy to take a look and give you a straight answer about what's actually going on and what it will take to fix it correctly. Reach out for a free, no-pressure estimate — the form below gets you started.