 Bellingham Siding
 Why Birch Bay's Coastline Is Hard on Siding
Birch Bay sits right on the water along Whatcom County's stretch of the Salish Sea, and that location cuts both ways. The views are part of why people live there, but the same exposure that makes the setting desirable also makes it one of the tougher spots in the county for exterior materials to survive long-term. Salt-laden air moves off the bay and settles on everything facing the water, wind-driven rain gets pushed sideways into wall assemblies during winter storms, and the tree cover on many inland and hillside lots keeps north- and west-facing walls damp and shaded for weeks at a stretch. That combination — salt, wind-driven moisture, and shade-fed moss — is a harder test than most siding products were ever designed for.
None of this means a home in Birch Bay is doomed to constant repairs. It means the siding, the flashing details behind it, and the installation itself all have to be matched to the actual conditions on that lot, not to a generic Pacific Northwest average. A wall that faces open water needs different attention than one tucked behind a stand of fir trees a quarter mile inland, even though both are technically "Birch Bay."
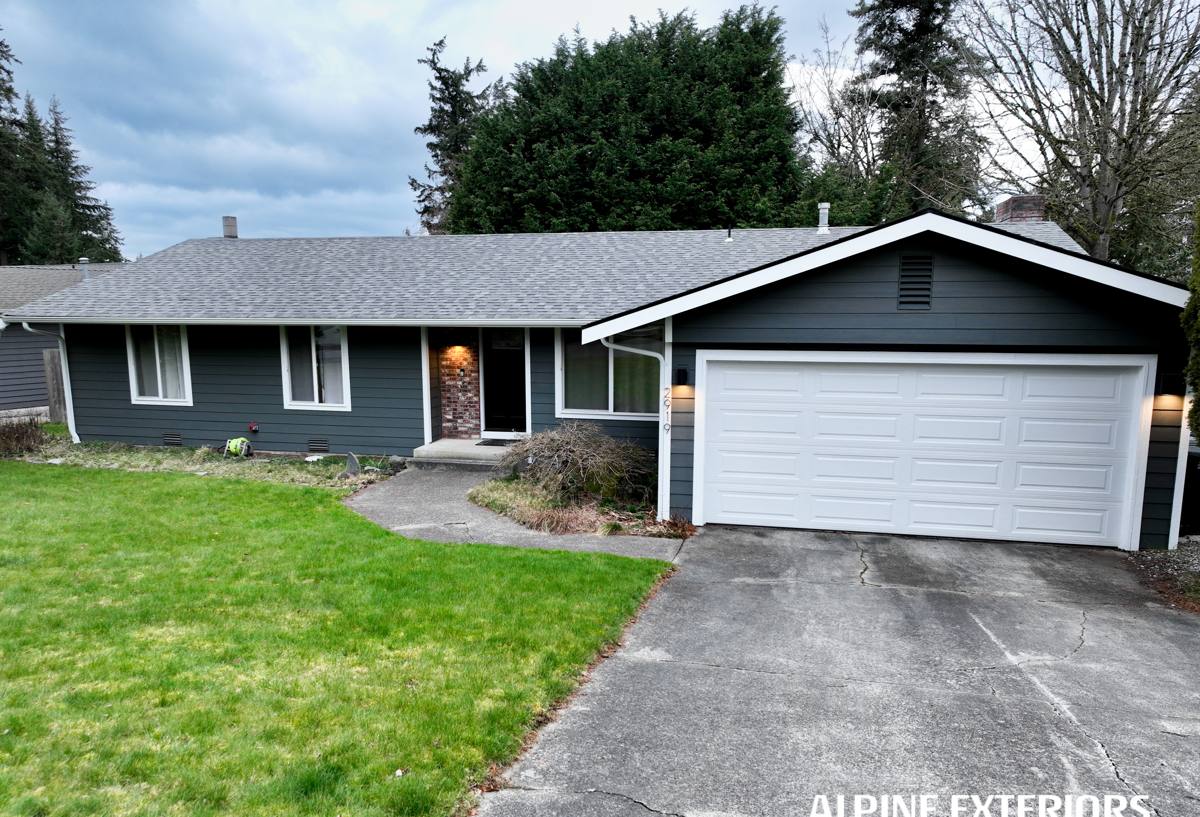
How Salt Air and Moisture Actually Affect Siding Materials
Salt air is corrosive to exposed metal fasteners and trim, and it accelerates the breakdown of some paint and coating systems faster than inland weathering would. Wind-driven rain doesn't just wet a wall's surface — on a poorly detailed installation, it finds its way behind the cladding through gaps at trim, penetrations, and butt joints, where it can sit against sheathing for days in our cool, humid climate. And moss doesn't just look bad; where it colonizes a damp wall surface, it holds moisture against the material underneath it far longer than an open, sun-exposed wall would dry out on its own.
| Material | Behavior Near Salt Air & Driving Rain | Moss & Shade Tolerance |
|---|---|---|
| Vinyl siding | Doesn't corrode, but can warp or fade under UV and temperature swings; seams are a common water-entry point | Traps moisture behind panels where moss and mildew can grow unseen |
| Cedar / primed wood | Absorbs moisture readily; repeated wet-dry cycling near the water accelerates rot and finish failure | Organic material is a food source for moss and algae; needs frequent refinishing |
| LP SmartSide (engineered wood) | Engineered core resists warping better than solid wood, but edges and cuts remain moisture-sensitive if not fully sealed | Still an organic wood-based product; moss and mildew can take hold if maintenance lapses |
| James Hardie fiber cement | Non-combustible, dimensionally stable, and engineered specifically for wet, coastal Pacific Northwest exposure (HZ5 product line) | Doesn't feed moss growth the way wood does; factory-cured ColorPlus finish resists fading and holds up to regular washing |
This is why we standardized on one product system instead of offering several. We'd rather install one material correctly, on every home, than offer a menu of options and let a homeowner unknowingly take on a coastal maintenance burden they weren't told about up front.
Why James Hardie Fiber Cement Is the Right Fit for This Location
James Hardie fiber cement is made from cement, sand, and cellulose fiber, which makes it non-combustible and dimensionally stable — it doesn't swell, cup, or rot the way wood-based products can when they take on moisture. Hardie also engineers specific product lines for different climate zones, and the HZ5 line is built for regions like ours: high humidity, heavy rainfall, and freeze-thaw cycling. That's a meaningful difference from a one-size-fits-all siding product, because the failure points in a coastal climate — moisture wicking at cut edges, freeze damage in saturated material, finish breakdown under salt exposure — are exactly what the HZ5 formulation is engineered to resist.
The factory-applied ColorPlus finish matters just as much as the substrate. It's baked on under controlled conditions rather than field-painted, which gives it better adhesion and color consistency than a job-site paint job, and it holds up better against the fading and chalking that salt air and UV exposure cause over time. Hardie backs the material with a long, transferable limited warranty — worth real money to Birch Bay's mix of full-time residents and second-home owners, since a transferable warranty protects the investment if the home changes hands.
What a Correct Installation Involves on a Birch Bay Home
Fiber cement siding is only as good as the assembly behind it. Most of the siding failures we get called out to inspect aren't material failures — they're installation shortcuts that let water get behind a wall that otherwise looks fine from the curb.
Weather-Resistive Barrier and Flashing
Every wall gets a continuous weather-resistive barrier, with flashing integrated at windows, doors, and every horizontal penetration — hose bibs, vents, light fixtures, deck ledgers. On a home taking direct wind-driven rain off the bay, these details aren't optional extras; they're the actual water management system. The siding itself is the visible layer, but the barrier and flashing behind it do most of the real work.
Clearances and Fastening
Hardie specifies minimum clearances from siding to roofing, decks, and grade, and minimum gaps at butt joints and trim to allow for expansion without trapping water. We follow Hardie's fastening schedule and use fasteners rated for the exposure, since salt air is unforgiving toward the wrong fastener choice over a couple of decades.
Caulking and Paint Lines
Cut edges get sealed before installation, joints get caulked with a product rated for exterior movement, and touch-up paint matches the factory ColorPlus finish rather than an off-the-shelf substitute that will weather differently and telegraph every touch-up spot within a year or two.
Our Process for a Birch Bay Project
- On-site assessment — we walk the exterior, note wind exposure by elevation, existing moisture damage, and any siding or trim already showing wear specific to that lot's position relative to the water.
- Scope and product selection — we confirm the right Hardie profile and HZ5 specification for the home, plus trim and accessory details that match the existing roofline and window trim.
- Prep and moisture check — old siding comes off, sheathing gets inspected for hidden rot or moisture damage before anything new goes on, since covering a wet wall with new siding just hides the problem.
- Barrier and flashing installation — the weather-resistive barrier and all flashing details go in before a single piece of siding is hung.
- Siding installation — installed to Hardie's fastening and clearance specifications, not shortcuts.
- Caulking, touch-up, and final walkthrough — joints sealed, cut edges finished, and a walkthrough with the homeowner before we call it done.
What Drives Cost on a Birch Bay Siding Project
Every home is different, so we don't quote a number until we've walked the property, but a few factors consistently move the price on projects in this area:
| Factor | Why It Matters Here |
|---|---|
| Wind and water exposure | Waterfront-facing walls typically need more robust flashing and trim detailing than sheltered, inland-facing walls |
| Existing damage behind old siding | Homes near the water more often have hidden moisture damage that needs repair before new siding goes on |
| Home size and trim complexity | More corners, dormers, and trim transitions mean more flashing and cutting labor |
| Access and site conditions | Beach-adjacent lots, steep driveways, or limited staging space can affect scheduling and setup time |
| Tear-off vs. new construction | Removing and disposing of old siding adds labor that new-construction siding doesn't require |
Living With Fiber Cement Through Birch Bay's Moss Season
Fiber cement is far lower-maintenance than wood, but "low-maintenance" doesn't mean "no maintenance," especially on shaded or north-facing walls where moss has a long season to work with. A little routine attention keeps a correctly installed job looking and performing the way it should for decades.
- Rinse siding once or twice a year with a garden hose to clear salt residue and organic buildup, especially on water-facing walls.
- Keep gutters and downspouts clear so runoff doesn't sheet down the siding face during heavy rain.
- Trim back vegetation and tree limbs that keep a wall shaded and damp, since sun exposure is the simplest moss deterrent.
- Check caulking at joints and trim annually, and have any cracked or missing caulk redone before it becomes a water path.
- Address moss or mildew film promptly with a gentle wash rather than pressure-washing directly into joints, which can force water behind the siding.
- Have any impact damage or cracked panels repaired quickly — a small gap is a much easier fix than the water damage it can cause if left through a wet winter.
Why Hiring a Crew That Already Works in Birch Bay Matters
A siding installation that would hold up fine in a sheltered inland neighborhood can fail years early on a wind-exposed Birch Bay wall if the flashing and clearance details weren't built for that exposure. Crews who regularly work this stretch of Whatcom County know which walls on a given lot take the brunt of winter storms, how to sequence a tear-off around unpredictable coastal weather windows, and what Whatcom County's permitting and inspection process expects for exterior work. That local familiarity shows up in the details — the flashing choices, the fastener selection, the trim sequencing — long before it would ever show up as a callback.
If your Birch Bay home needs new siding, or you want a second opinion on whether your current siding is holding up the way it should, we're happy to take a look. We offer free, no-pressure estimates — use the form below to get started.