 Bellingham Siding
 Building New in Lynden? The Windows Are Part of the Weather Barrier
When a house in Lynden is framed and ready for windows, the crew setting those units isn't just installing glass — they're closing a hole in your weather-resistive barrier. Get that step right and the house stays dry for decades. Get it wrong, and you won't know it for a few years, until sheathing behind a window starts to soften and nobody can say exactly when the water got in. New-construction window installation is a one-shot job done at a specific point in the build sequence, and it has to be done correctly the first time because the siding, trim, and finish work all go on top of it.
Lynden sits inland from Bellingham Bay in the Nooksack River valley, so it doesn't take the same direct salt spray that shoreline parts of Whatcom County see. But it shares the same weather system: long stretches of driving, wind-blown rain off the Pacific, short damp winter days, and a mossy, mildew-prone climate that keeps siding and trim wet for weeks at a time in the off-season. Any window opening that isn't flashed and sealed correctly becomes the weak point where that moisture gets behind the wall.
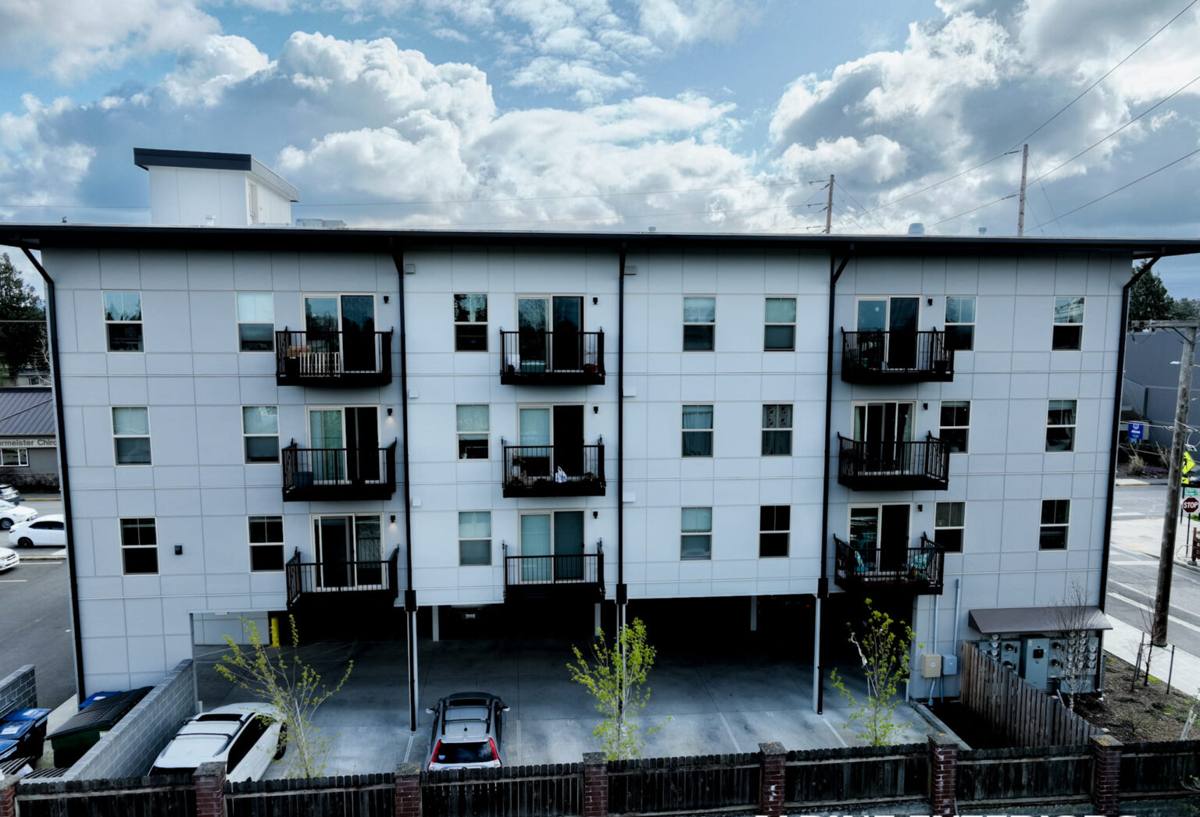
New-Construction Windows vs. Replacement Windows — Why the Job Is Different
These are two different trades wearing the same name. A replacement window goes into an existing, already-clad opening — the old frame usually stays, and the new unit is sized to fit inside it. A new-construction window goes into open studs, before siding, house wrap, or trim exist. That means the installer is building the entire water-management system around the window from scratch, not working around what's already there.
| Factor | New-Construction Install | Replacement Install |
|---|---|---|
| Access to the rough opening | Fully open — studs, header, sill exposed | Limited — working inside existing frame |
| Flashing method | Full flashing system: sill pan, house wrap integration, head flashing | Depends on existing flashing condition; often partial repair |
| Window has a nailing fin | Yes, typically — fin fastens directly to sheathing | Usually no — pocket or insert-style frame |
| Sequencing | Must coordinate with framer, wrap, and siding crew | Standalone job, any time of year |
| Mistakes show up | Months to years later, hidden behind siding | Often sooner — easier to inspect and fix |
Because a new-construction opening is fully accessible, there's no excuse for skipping steps. Every layer — sill pan, self-adhered flashing tape, house wrap laps, head flashing — has to go in in the right order, in the right direction, so water sheds outward and down, never into the wall cavity.
What a Correct Installation Actually Involves
The Sill Pan
Before the window ever sits in the opening, the rough sill gets a sloped, sealed pan — either a manufactured pan flashing or a built-up flexible flashing membrane — so that any water that does find its way past the window has a dedicated path back outside instead of soaking into the framing.
Flashing Integration With House Wrap
The window's nailing fin has to be integrated with the house wrap in the correct shingle-lap order: wrap laps over the head flashing, side flashing laps over the sill pan, and everything overlaps downhill like the shingles on a roof. Done out of order, water runs behind a lap instead of over it — invisible from outside, guaranteed to cause rot eventually.
Sealing the Fin and the Interior
The nailing fin gets sealed to the sheathing with compatible tape or sealant — not whatever tube happens to be on the truck. Different flashing tapes and window manufacturers have different compatibility requirements, and mixing incompatible products can cause the seal to fail early. On the interior, the gap between the window frame and rough opening gets insulated and air-sealed, which matters as much for comfort and energy bills as the exterior flashing does for keeping water out.
Setting the Window Level, Plumb, and Square
A window that's out of square will bind, won't lock properly, and puts stress on the frame that can crack seals over time. This gets checked and shimmed before a single fastener goes permanent.
Window Choices for New Builds in Whatcom County
New construction is the best time to choose the right frame material and glass package, since you're not constrained by an existing opening. For Lynden's climate — long wet winters, real temperature swings between summer and winter, and that moss-friendly humidity — the frame material matters as much as the glass.
| Frame Material | Moisture Behavior | Maintenance | Typical Fit |
|---|---|---|---|
| Vinyl | Won't rot; dimensionally stable in damp climates | Low — occasional cleaning | Most cost-conscious new builds |
| Fiberglass | Very stable, low expansion/contraction, handles wet-dry cycling well | Low | Higher-end builds, larger openings |
| Wood-clad | Good if the exterior cladding and flashing details are done right; interior wood needs the cladding intact to stay protected | Higher — watch for cladding seam failures over time | Traditional or custom-look homes |
| Aluminum | Prone to condensation and thermal transfer unless thermally broken | Moderate | Less common in residential new builds here |
We don't push one brand over another — we size and spec windows to the opening, the home's design, and the owner's budget, and we install whatever quality product the homeowner or builder has chosen. What we won't do is compromise on the flashing and sealing details regardless of which window goes in, because that's where failures actually start.
Our Process on a New-Construction Job in Lynden
- Rough opening check. We verify every opening is framed square, level, and to the correct dimension before windows arrive on site — catching a framing error now is a lot cheaper than after the wrap is up.
- Sill pan and flashing install. Sloped sill pans go in first, sealed and tested for drainage direction.
- Window set. Units are set plumb, level, and square, shimmed, and fastened per the manufacturer's schedule — not just "however many nails fit."
- Fin and head flashing integration. Flashing tape and house wrap are lapped in the correct shingle order around the entire opening.
- Interior air-sealing and insulation. The gap between frame and rough opening is sealed and insulated before interior trim covers it up.
- Final inspection. We check operation, locks, and seals on every unit before we call the opening closed.
Coordinating With Builders and General Contractors
New-construction window work rarely happens in isolation — we're usually one stage in a sequence that includes the framer, the house wrap crew, and eventually the siding installer. Showing up on schedule and doing the flashing correctly the first time keeps the whole build moving. We communicate directly with the GC or builder on timing, confirm window sizes against the actual framed openings (not just the plan set, since field dimensions sometimes shift), and flag any framing issues before they get buried behind wrap and siding.
Why It Matters to Hire a Crew That Already Works in Lynden
Whatcom County covers a lot of ground, and building conditions vary from the tighter, more sheltered lots closer to Bellingham to the more open, wind-exposed farmland around Lynden. A crew that regularly works Lynden builds knows the kind of wind-driven rain the area gets in the winter, understands local permitting and inspection expectations, and isn't learning the region's moisture patterns on your project. That familiarity shows up in details — how much overlap we build into flashing laps, how we detail transitions where wrap meets rough openings on more exposed elevations, and how we sequence work around the wetter months so windows aren't sitting open to weather longer than necessary.
Common Mistakes We See on New-Construction Window Jobs
- House wrap taped over the nailing fin instead of properly lapped under the head flashing and over the sides — traps water instead of shedding it
- No sill pan, or a flat sill pan with no slope to drain
- Incompatible sealants or tapes used against the window manufacturer's frame material, risking adhesion failure
- Windows fastened without shimming, leaving them out of square and hard to operate
- Interior gaps left unsealed and uninsulated, causing drafts and condensation later
- Window sizes ordered from plans without verifying actual framed rough openings
Cost Factors on New-Construction Window Installs
Costs vary by project, but the main drivers are consistent across Lynden-area builds. As a rough starting point, budgeting a broad range and refining it once window count, sizes, and frame material are finalized is more realistic than chasing a flat per-window number.
| Factor | Why It Affects Cost |
|---|---|
| Number and size of openings | More and larger windows mean more flashing, labor, and material |
| Frame material and glass package | Vinyl, fiberglass, and wood-clad units carry different price points; upgraded glass (low-E, triple-pane) adds cost |
| Wall height and access | Second-story or hard-to-access openings take more time and equipment |
| Flashing complexity | Bump-outs, unusual trim details, or non-standard openings take more labor than straightforward rectangular windows |
| Timing in the build schedule | Weather delays during Whatcom County's wetter months can affect scheduling and sequencing |
What Homeowners and Builders Should Ask For
- A written flashing method, not just "we'll seal it up"
- Confirmation of sill pan installation on every opening
- Manufacturer installation instructions followed, not a generic universal method
- Photos or a walk-through of flashing before siding covers it
- A clear warranty on workmanship, separate from the window manufacturer's product warranty
After the Windows Are In
Once siding and trim close up the opening, a correctly installed new-construction window needs very little attention — periodic cleaning of tracks and weep holes, and keeping an eye out for any caulking or trim gaps that open up as the house settles in its first year or two. Because Lynden's moss season keeps exterior surfaces damp for extended stretches, it's worth a quick visual check each fall that gutters and trim above windows are draining properly and not holding water against the frame.
If you're framing a new home or addition in Lynden and want the window installation done right the first time, we're happy to walk the plans, talk through window options, and give you a straightforward, no-pressure estimate — just fill out the form below.