 Bellingham Siding
 Why Sehome Siding Wears Differently Than You'd Expect
Sehome sits close enough to Bellingham Bay that salt-laden air is a constant, low-grade stress on every exterior surface in the neighborhood, and it doesn't take a storm to do the damage — it's the everyday combination of moist marine air, driving rain off the water, and long stretches of gray, low-sun weather that keeps siding damp longer than it should be. Add in Whatcom County's extended moss season, when spores settle into anything that holds shade and moisture, and you have a climate that punishes siding failures faster than drier parts of the state. A gap, a cracked panel, or a piece of failed caulking that might sit harmless for years in Eastern Washington can turn into rot, mold, or sheathing damage in Sehome within a season or two if it's left alone.
That's the core reason siding repair here isn't just a cosmetic fix. It's water management triage — closing off a path that moisture has found into the wall assembly before it does real structural damage.
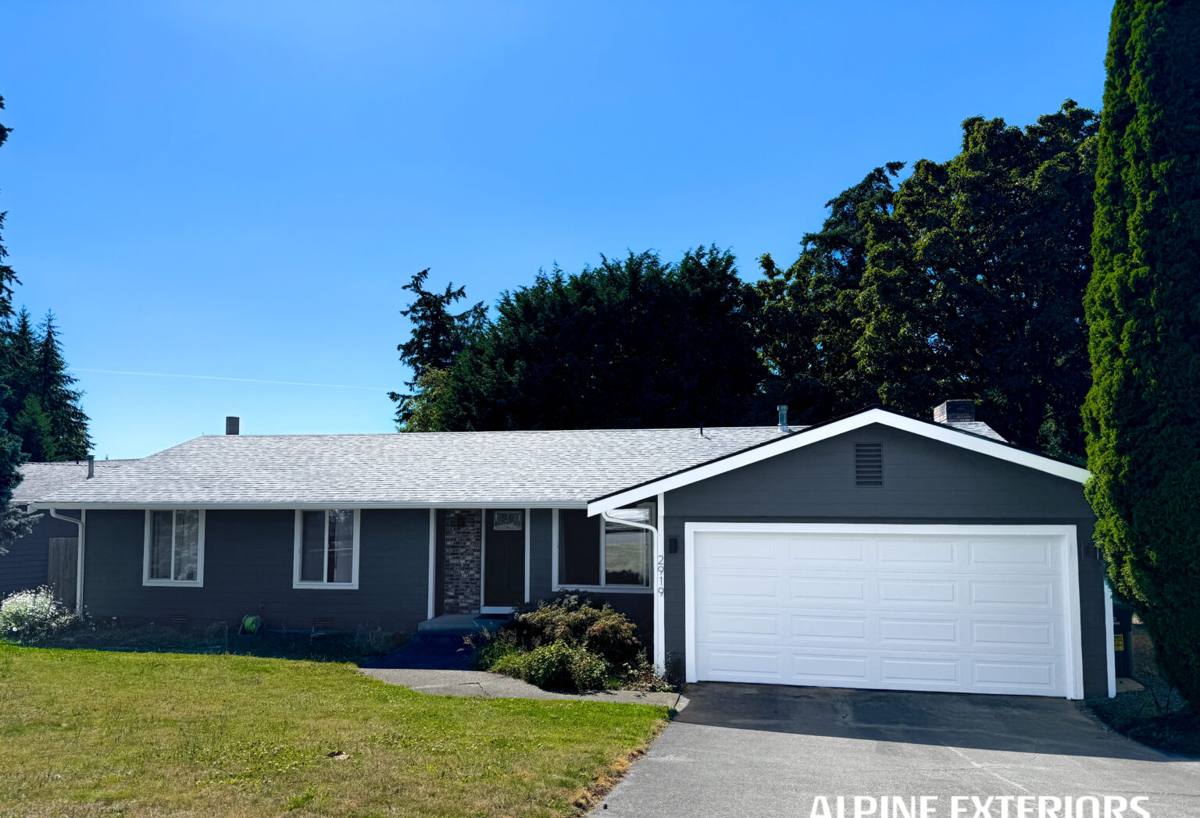
Signs Your Siding Actually Needs Repair
Homeowners often wait for siding to look bad before calling anyone, but by the time damage is visible from the sidewalk, it's usually been developing behind the surface for a while. Some of the clearest signs we look for on Sehome homes:
- Soft or spongy spots when you press on a panel, especially near the bottom courses or around window and door trim
- Dark streaking or persistent green/black staining that keeps returning within weeks of cleaning
- Visible cracks, splits, or buckled panels, particularly on the west and south-facing walls that take the brunt of driving rain
- Peeling or bubbling paint that keeps happening in the same spot year after year — a strong sign of moisture trapped behind the material
- Gaps at seams, corners, or trim where caulking has shrunk, cracked, or pulled away
- Interior clues: a musty smell near an exterior wall, or a faint water stain on interior drywall that lines up with an exterior problem area
Any one of these on its own might be minor. Several together, or one that's been ignored for more than a season, usually means the repair needs to go past the surface.
Where Damage Tends to Show Up First
In our experience working this part of Bellingham, the failure points are consistent: bottom courses near grade where splashback and standing moisture concentrate, anywhere two materials meet (siding to trim, siding to foundation, siding to roofline), and shaded north-facing walls where moss gets a foothold and holds moisture against the surface long after the rest of the house has dried out.
What a Correct Siding Repair Actually Involves
A repair that only replaces the damaged piece you can see is a repair that's likely to fail again. The difference between a lasting fix and a temporary patch comes down to three things.
Finding the Real Moisture Path
Damaged siding is usually a symptom, not the root cause. Before we replace anything, we trace where water is actually getting in — a failed flashing detail, a caulk joint that's opened up, a grading issue pushing water back toward the foundation, or a gap where trim meets siding. Replacing a rotted panel without fixing what let the water in just buys you a few more years before the same spot fails again.
Checking What's Behind the Siding
Once panels are pulled, we look at the house wrap, sheathing, and framing underneath. Sound material gets sealed back up properly. Anything soft, delaminated, or showing active rot gets addressed before new siding goes back on — patching over compromised sheathing is one of the most common shortcuts that leads to a repair failing within a couple of years.
Rebuilding the Water Management, Not Just the Surface
Correct flashing, proper overlap, the right gap and sealant at trim junctions, and drainage that actually directs water away from the wall — these details matter more than the siding material itself. A beautiful patch with sloppy flashing behind it will fail again in a wet climate like this one.
Common Repair Scenarios We See in Sehome
Sehome's housing stock is a mix of older homes closer to the historic core and newer construction on the edges of the neighborhood, and each brings different repair needs.
Older Homes
Many older Sehome properties were originally sided with wood or early cementitious products, some of which have been recoated or partially repaired over the decades. These homes often need repair work at trim intersections and corner boards where decades of paint and caulk cycles have finally given out, plus attention to any spots where later additions or remodels created a seam that was never properly flashed.
Newer Construction
Newer homes aren't immune — installation shortcuts during the original build (missing kick-out flashing, siding installed too close to grade or a roofline, caulk used in place of proper flashing) tend to surface as problems five to fifteen years in, right around when a lot of these homes are due for their first real exterior service.
Repair or Replace? How We Help You Decide
Not every siding problem calls for a full re-side, and not every repair is worth doing in isolation. We look at the extent of the damage, the age and condition of the rest of the siding, and whether the underlying wall assembly is sound.
| Factor | Repair Usually Makes Sense | Replacement Usually Makes Sense |
|---|---|---|
| Extent of damage | Isolated to one or two areas | Recurring across multiple walls |
| Age of existing siding | Relatively young, otherwise sound | Near or past expected service life |
| Sheathing condition | Solid once exposed | Soft, rotted, or compromised in several spots |
| Material match | Discontinued product still patchable | No reasonable match available |
| Root cause | A single fixable failure point | A systemic installation or design flaw |
We'll always tell you honestly which side of that line your home falls on. A patch job on a house that needs a full re-side wastes your money; a full tear-off on a house with one bad flashing detail wastes it in the other direction.
Material Matching and Why We Repair Toward James Hardie
Repairing siding gets harder over time as products are discontinued, profiles change, or a factory finish fades unevenly next to a new panel. When a repair area is small and the existing material can still be matched closely, we'll do that. But when a home has vinyl, LP SmartSide, or an older fiber cement product with damage that's spreading or a color that's badly faded, we're upfront that a full patch match often isn't realistic — and we'll walk you through transitioning that section, or eventually the whole exterior, to James Hardie fiber cement.
We only install James Hardie on this company's projects, for reasons that matter specifically in a climate like Whatcom County's: it's non-combustible, engineered for Pacific Northwest moisture exposure in its HZ5 product line, and finished with a factory-applied ColorPlus coating that holds color far more consistently than field-applied paint — which matters a lot when you're trying to blend a repaired section into existing siding down the road. It also carries a strong transferable warranty when installed to spec, which is worth something on a home in a climate this hard on exteriors.
Our Siding Repair Process
1. On-Site Inspection
We look at the visible damage, probe for soft spots, and check related areas — trim, flashing, caulk lines — that often share the same root cause.
2. Honest Diagnosis
You get a clear explanation of what's actually causing the damage, not just what's visible, along with a repair-vs-replace recommendation based on what we find.
3. Careful Removal
Damaged material comes off without unnecessary disruption to sound siding around it, and we inspect the wall assembly underneath before anything goes back.
4. Correct Rebuild
Flashing, house wrap, and drainage details get restored to spec — not just covered back up — before new material is installed.
5. Finish and Match
We match material, reveal, and finish as closely as possible, and we're honest with you in advance if a perfect match isn't achievable.
Why It Matters to Hire a Crew That Already Works in Sehome
A contractor who works this neighborhood regularly already knows which failure points show up on which house styles, understands how Bellingham's exposure and moss season affect timing, and isn't guessing at code requirements or typical construction details for homes built in this part of Whatcom County. That local familiarity shortens the diagnosis phase and reduces the odds of a repair that misses the actual cause. It also means faster response — a soft spot you caught early doesn't have to sit through another few weeks of rain waiting on a crew to show up.
Simple Maintenance That Prevents the Next Repair
- Rinse siding at least once a year, more often on shaded or north-facing walls prone to moss
- Trim back vegetation and tree limbs that keep a wall shaded and damp
- Re-caulk trim joints and penetrations (vents, hose bibs, light fixtures) every few years, not just when they visibly fail
- Check and clear gutters regularly — overflow is one of the most common causes of siding damage we find at repair calls
- Walk the exterior after major storms and note anything that looks different, even if it seems minor
- Address small paint failures or hairline cracks promptly rather than waiting for a full season of exposure
If you're noticing soft spots, staining, or gaps in your Sehome home's siding, it's worth having someone look before another wet season passes. We offer free, no-pressure estimates — we'll tell you honestly whether you're looking at a straightforward repair or something bigger, with no obligation either way.