 Bellingham Siding
 New-Construction Windows for Happy Valley Homes
Happy Valley sits close enough to Bellingham Bay that salt-laden air, wind-driven rain, and a long wet season are just part of building here. Whether you're framing an addition, building a new home, or doing a full re-side down to the studs, the windows you install now set the tone for how that building performs for the next 30-plus years. New-construction windows aren't a cosmetic upgrade — they're a structural water-management decision, and in this part of Whatcom County, getting that decision right matters more than in drier climates.
This page covers what "new-construction" windows actually means, what correct installation looks like in a marine climate like ours, and why local installation experience is worth more here than almost anywhere else in the region.
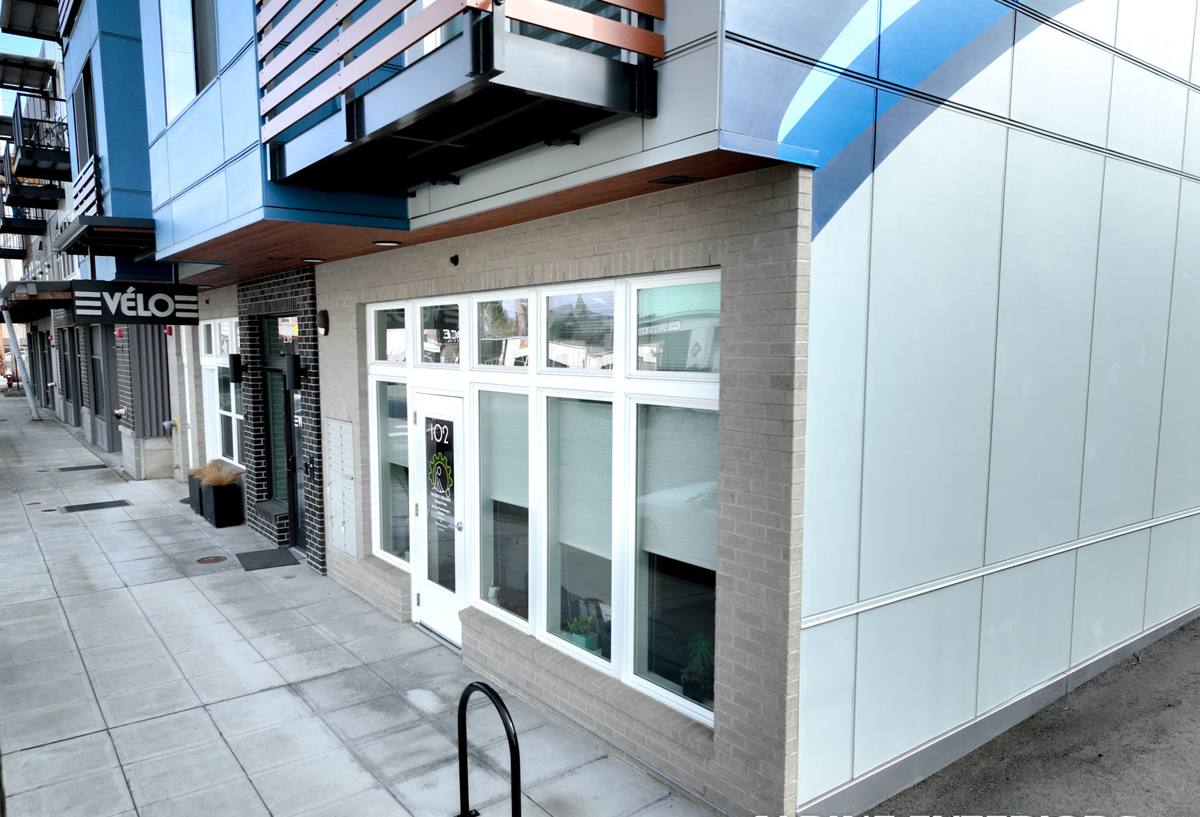
New-Construction Windows vs. Replacement Windows
These two window types solve different problems, and mixing them up is one of the most common (and costly) mistakes homeowners make when planning a project.
- New-construction windows have a nailing fin (flange) around the outer frame. They're designed to be installed into open framing, before the weather-resistive barrier (WRB) and siding go on, so the flange can be integrated directly into the wall's water-management layers.
- Replacement (retrofit) windows have no nailing fin. They're built to slide into an existing window opening, trim-to-trim, without disturbing the surrounding siding.
If you're building new, adding a room, or stripping siding down to the sheathing anyway, new-construction windows are almost always the better choice — they let us build a proper drainage plane around every opening instead of working around one. Using a replacement-style window on new framing (or vice versa) usually means compromised flashing, and flashing is where most window failures start.
Why Whatcom County's Climate Raises the Stakes
Bellingham gets a lot of rain, but volume alone isn't the issue — it's the combination of factors that make window installation in Happy Valley more demanding than it looks:
Driving rain
Storms off the Sound and the Strait of Georgia routinely bring wind-driven rain, which pushes water sideways and upward against wall assemblies, not just straight down. A window opening that only sheds water from directly above will still leak under these conditions if the sill pan and side flashing aren't correctly lapped.
Salt air
Proximity to the bay means airborne salt settles on exterior surfaces over time. Salt accelerates corrosion on exposed fasteners, uncoated flashing, and lower-grade hardware. Frame material and fastener selection matter more here than they would further inland.
Moss and prolonged dampness
Whatcom County's moss season isn't limited to roofs — north-facing walls, shaded window sills, and anywhere airflow is restricted can stay damp long enough to grow moss and algae. That sustained moisture is hard on wood trim, caulk joints, and any gaps in the drainage plane that weren't sealed correctly the first time.
None of this means Happy Valley homes need exotic materials. It means the installation details — flashing sequence, sill pans, sealant selection, and drainage — have to be done correctly every time, because this climate doesn't forgive shortcuts the way a drier one might.
What Correct New-Construction Window Installation Involves
A window opening is only as good as its weakest layer. Working from the rough opening outward, a correct installation includes:
- Sill pan flashing — a sloped, sealed pan at the bottom of the opening that catches any water that gets past the window and directs it back outside, rather than into the wall cavity.
- Jamb and head flashing, integrated with the WRB in the correct shingle-lap order (bottom to top, so each layer sheds onto the one below it).
- Proper flange fastening — nailing fins fastened per the manufacturer's schedule, not just "enough to hold it," since under-fastened windows can rack or leak under wind load.
- Backer rod and sealant at the interior and exterior trim lines, sized and installed to allow for material movement without failing.
- Insulation and air-sealing around the rough opening, so the window isn't just watertight but also isn't a thermal gap in the wall.
Skipping or rushing any one of these doesn't usually show up on day one. It shows up two, five, or ten winters later as staining, soft trim, or a slow leak that's already done drywall or sheathing damage by the time anyone notices.
Framing Material and Window Options
Happy Valley has a mix of established homes and newer infill construction, so we install a range of frame materials depending on the home's style, budget, and exposure. Here's how the common options compare for this climate:
| Frame Material | Moisture/Salt Resistance | Maintenance | Typical Use Case |
|---|---|---|---|
| Vinyl | Good — won't rot or corrode | Low | Most new builds and additions; strong value |
| Fiberglass | Very good — dimensionally stable in temperature swings | Low | Larger openings, higher-end new construction |
| Wood-clad (exterior clad, wood interior) | Good on the clad exterior; interior wood needs protection from moisture | Moderate | Homes wanting a wood interior look with a protected exterior |
| Aluminum | Prone to corrosion near salt air without proper coatings | Moderate to high | Limited use; typically only where a specific architectural profile is required |
We don't push any one brand or material as a default. The right call depends on the home's design, sun and wind exposure, and how close it sits to the bay-facing side of the property. What we do insist on, regardless of material, is correct flashing and sealant details — a premium window installed poorly will underperform a mid-range window installed correctly.
Our Process for New-Construction Window Jobs
For Happy Valley projects, we treat window installation as part of the overall building envelope, not a standalone task done in isolation from the siding and WRB work.
1. Site walk and rough opening check
Before any window goes in, we confirm rough openings are square, level, and sized correctly. Framing issues are far cheaper to fix before a window is set than after.
2. Flashing and drainage plane layout
We plan the WRB and flashing sequence around each opening so water always has a path down and out, never a place to pool or back up behind the window.
3. Window setting and fastening
Windows are set plumb, level, and square, then fastened per manufacturer spec — not just "close enough" — since under-shimmed or racked frames are a common source of operational problems (windows that stick or won't seal) down the line.
4. Sealing and trim
Exterior sealant, backer rod, and trim go on last, matched to the siding profile being installed around the opening.
5. Walkthrough
We review the finished openings with the homeowner or builder before siding closes them in, since that's the last point where flashing details are still visible and easy to correct if needed.
Why Local Experience in Happy Valley Matters
A crew that already works this neighborhood brings a few practical advantages that generic experience doesn't replace:
- Familiarity with local exposure patterns — which sides of a home in this part of Bellingham take the worst of the wind-driven rain and salt air, and where extra attention to flashing pays off.
- Knowledge of City of Bellingham and Whatcom County permitting and inspection expectations for new construction and additions, so window rough-in timing lines up with inspections instead of causing delays.
- Familiarity with local building stock — older Happy Valley homes and newer infill construction often have different framing conventions, and knowing which is which up front avoids surprises mid-project.
- Established relationships with local suppliers, which helps keep lead times reasonable for window orders on a build schedule.
None of this is exotic knowledge, but it's the difference between a crew learning the neighborhood on your project and one that already knows it.
Questions Worth Asking Before You Hire
Whoever you choose for a new-construction window install, these are reasonable things to ask and expect a clear answer on:
- Will you install a sill pan flashing at every window opening, not just where it's "critical"?
- How will the window flashing integrate with the weather-resistive barrier and siding?
- What's the fastening schedule for the nailing flange, and will it match the manufacturer's requirements?
- Who is responsible for the rough opening being square and correctly sized before the window arrives?
- What's the manufacturer's warranty on the window itself, and what's covered under your installation warranty separately?
- Will I get a walkthrough of the flashing details before siding closes the opening?
A contractor who can answer these without hesitation is one who treats window installation as a system, not just a product drop-in.
Getting Started
New-construction window installation in Happy Valley isn't complicated, but it's unforgiving of shortcuts given the rain, salt air, and moss this area sees for much of the year. Done right the first time, it's a one-time cost. Done wrong, it's a recurring one. If you're planning a new build, addition, or full re-side in Happy Valley and want a straightforward look at what correct window installation involves for your project, we're happy to walk the site and put together a free, no-pressure estimate.