 Bellingham Siding
 Why Siding Repair Is a Different Job in Birch Bay
A cracked panel or a failed caulk joint doesn't mean the same thing on a Birch Bay home that it means a few miles inland. This stretch of Whatcom County sits right on the water, and that location puts three things to work on a house's exterior nearly year-round: salt-laden air coming off the bay, wind-driven rain that gets pushed sideways into seams and joints instead of falling straight down, and a moss season that can run most of the year on shaded or north-facing walls. Damage that would take a decade to show up on a sheltered, inland wall can show up in a fraction of that time here.
That changes what a correct siding repair actually looks like. A patch job that would hold up fine somewhere drier can fail again within a season out here if it doesn't account for how water actually moves against this house in this location. This page covers what typically goes wrong with siding in Birch Bay, how we decide between repairing and replacing, what a repair done right actually involves, and why it matters that we already work this specific stretch of coastline.
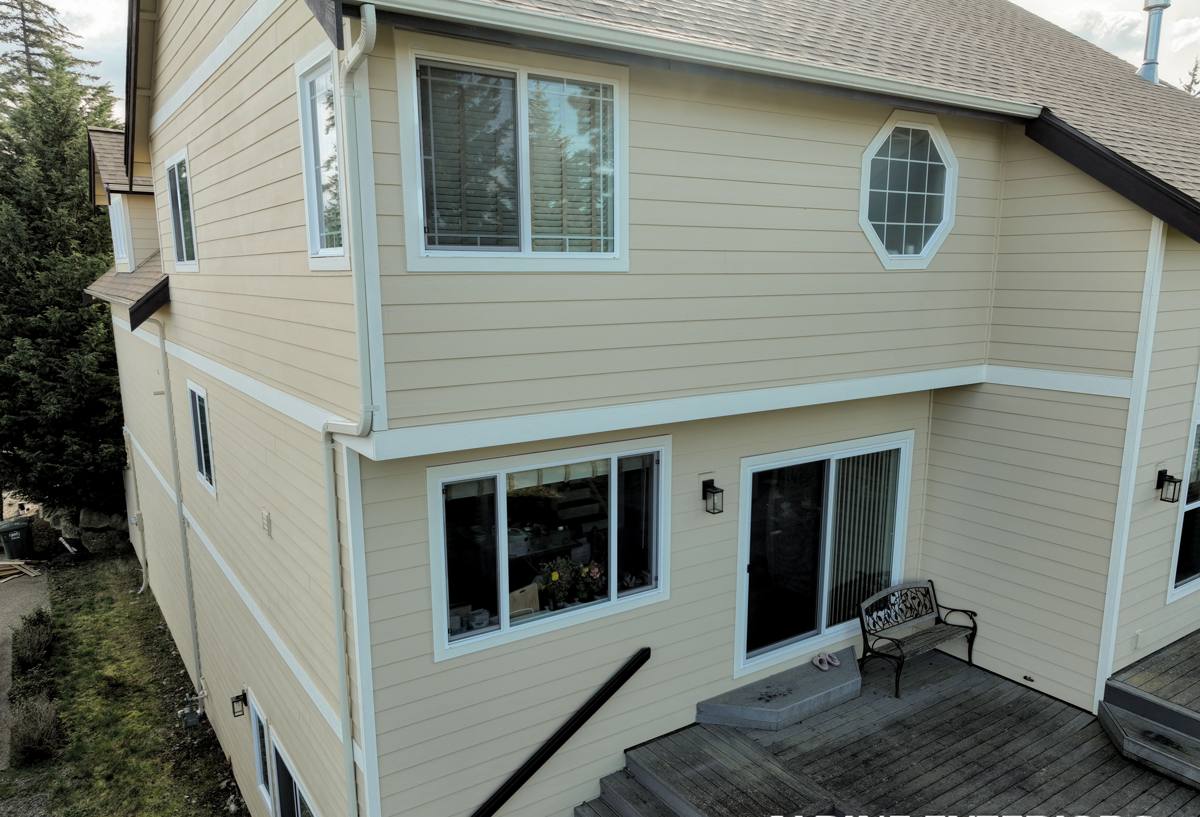
What Actually Damages Siding in Birch Bay
Salt Air and Fastener or Finish Breakdown
Salt-laden air settles on a house continuously, not just during storms, and it accelerates corrosion in fasteners, flashing, and trim hardware well before that corrosion is visible from the ground. It also works on lower-quality finishes faster than a drier climate would, breaking down the surface layer that's supposed to be keeping moisture out. A repair that reuses standard-grade fasteners or ignores a compromised finish is often a repair that needs redoing sooner than it should.
Wind-Driven Rain at Joints and Penetrations
Rain here doesn't just fall on a wall — waterfront wind pushes it sideways into panel joints, corner boards, and anywhere siding meets a window, door, or roofline. Those transition points are where most of the repair calls we get actually originate, because a small gap or a cracked caulk line that would stay mostly dry in a calm, sheltered spot becomes a real entry point for water once wind is driving rain into it directly.
Moss, Mildew, and Prolonged Moisture
Mild temperatures, shade, and near-constant moisture add up to a long moss and mildew season on this part of the coast. Organic growth on siding isn't just cosmetic — moss and mildew hold moisture against the surface far longer than a dry wall would experience, and that sustained wetness is what turns a minor finish issue into a soft spot or a rot pocket underneath. North-facing walls and anything shaded by trees or a neighboring structure typically need more frequent attention than the sun-facing sides of the house.
Common Siding Repair Issues We See in Birch Bay
- Impact damage — cracked or chipped panels from storm debris, falling branches, or accidental contact
- Failed caulk joints at corner boards, trim, and window and door transitions, letting wind-driven rain behind the cladding
- Soft or spongy sections near the bottom courses or close to grade, usually a sign moisture has already reached the substrate
- Nail pops or loosened panels from sustained wind exposure and repeated wet-dry cycling
- Flashing that's lifted, corroded, or missing sealant around windows, doors, and roof-to-wall transitions
- Persistent moss or dark staining on shaded walls that keeps returning shortly after cleaning
Repair vs. Replace: How We Actually Make That Call
Not every siding problem calls for the same response, and getting this decision right the first time is most of what a good repair estimate is doing. We look at a handful of honest factors rather than defaulting to whichever job is bigger:
| Factor | Points Toward Repair | Points Toward Replacement |
|---|---|---|
| Extent of damage | Isolated to a few panels or joints | Spread across multiple walls or courses |
| Substrate condition | Sheathing and framing behind the damage are dry and sound | Moisture has already reached the sheathing over a wide area |
| Age of existing siding | Still well within its expected service life | Near the end of its practical lifespan already |
| Cause of the damage | A specific, fixable event — impact, a failed joint, a fastener issue | A systemic material or original-installation problem likely to recur elsewhere |
| Material match availability | Matching panels or color are reasonably available | Discontinued profile or finish makes a seamless patch impractical |
We'll give a straight answer on which category a given repair falls into, including when a small section of full replacement is genuinely the more sensible option, rather than steering every call toward the larger job.
What a Correct Siding Repair Actually Involves
Fixing the Cause, Not Just the Symptom
A soft panel or a cracked joint is a symptom. Standing water at a sill, a failed flashing detail, or a caulk joint that was never sealed correctly in the first place is usually the cause. Replacing the visible damage without correcting what let water in tends to produce the same failure again, often sooner the second time because the underlying issue was never addressed.
Matching Material, Profile, and Finish
A repair that doesn't match the existing siding's profile, reveal, and finish ends up looking like a patch rather than a repair. On factory-finished products, matching color accurately can also mean working with the manufacturer's current color-matching process rather than guessing with field-mixed paint, since a visibly mismatched panel undercuts the point of repairing instead of re-siding a whole section.
Correct Flashing and Drainage Detailing
Any repair that touches a window, door, or roof-to-wall transition needs flashing that's properly lapped and integrated with the water-resistive barrier behind the siding, not just caulked over. Caulk is a secondary line of defense, not a substitute for correct flashing — a repair that relies on sealant alone at a penetration is one of the more common reasons the same spot leaks again within a year or two.
Fastener and Hardware Choice
Where fasteners or hardware are replaced as part of a repair, we use corrosion-resistant fasteners suited to salt air exposure rather than a like-for-like swap with whatever standard-grade hardware failed the first time. This is one of the clearest places a repair either holds up for years or needs revisiting sooner than expected.
Repairing James Hardie Siding Specifically
We install James Hardie fiber cement exclusively, and that shows up in how we approach repairs too. Hardie's factory-applied ColorPlus finish holds color and resists chalking far longer than field-applied paint, but it does mean color matching on a repair is a real consideration — Hardie maintains color-match resources for its ColorPlus lines specifically because exact field-mixed matches are difficult to achieve otherwise. Fiber cement itself is dimensionally stable, so it doesn't swell or cup the way a wood-based product can after repeated wetting, which generally makes isolated panel replacement a cleaner, more predictable repair than it is on moisture-sensitive materials.
We won't install LP SmartSide, vinyl siding, Cemplank, Allura, primed spruce, or cedar, and that standard applies to repair work the same way it applies to new installations. Each of those products has a place in the market, but on a repair call in a climate like Birch Bay's, we'd rather do the job in a system we fully stand behind than patch a different material with a fix we can't guarantee the same way.
Our Process for a Birch Bay Siding Repair
We start with an on-site inspection of the specific damage and the areas around it, not just the panel or joint that prompted the call, since problems in this climate rarely stay isolated once moisture has been getting in for a while. From there we give a clear, written scope that spells out what's being repaired, what caused it, and what it will take to fix it correctly — including telling you honestly if what we find points toward a larger repair or replacement than the original call suggested. Once work begins, flashing, drainage, and fastener details are handled as standard practice on every repair, not as optional upgrades, because those are the details that determine whether the fix lasts.
A Checklist Before Hiring Anyone for Siding Repair in Birch Bay
- Ask whether they inspect beyond the visible damage for moisture that may have already spread
- Ask specifically how they'll match panel profile, reveal, and finish to the existing siding
- Confirm they carry current Washington contractor licensing and active insurance
- Ask how they detail flashing at windows, doors, and roof-to-wall transitions on a repair, not just caulk
- Ask what fastener grade they use for repairs in a salt-air environment
- Get a clear, written scope of work before any repair begins
Why It Matters That We Already Work Birch Bay
A crew that mostly repairs siding inland can still do competent work here, but a waterfront repair has variables that come up more often on this stretch of coastline than elsewhere in Whatcom County — corrosion patterns tied to direct salt exposure, wind-driven rain hitting joints from angles a sheltered wall rarely sees, and a moss season long enough that it changes how often certain walls need attention. Working this area regularly means we're not learning those patterns mid-project. We know which joints tend to fail first on a bay-facing wall, what fastener grade actually holds up out here, and how to spot moisture that's already spread before it becomes a much larger job. That familiarity also means a more accurate first estimate, with less back-and-forth once the work is underway.
If you're dealing with a specific siding problem in Birch Bay — a cracked panel, a failed joint, a soft spot you've noticed near grade — or you just want an honest read on what your siding needs, we're glad to come take a look. Reach out below for a free, no-pressure estimate.