 Bellingham Siding
 Windows in Birch Bay Take a Different Kind of Beating
Birch Bay sits right on the water, and that changes what a window install actually needs to hold up to. Homes a few blocks off the shoreline deal with salt-laden air, wind-driven rain that hits window walls sideways instead of straight down, and a wet season that stretches long enough for moss and algae to get a foothold on anything that stays damp. None of that is exotic — it's just Whatcom County weather doing what it does — but it means a window installation done for a drier inland lot doesn't automatically hold up here. The window unit itself matters less than most homeowners think. What actually determines whether a window performs for fifteen years or fails in five is the flashing, the sealant choices, and how the opening is prepped before the window ever goes in.
We work Birch Bay regularly as part of our Bellingham-area service area, so this isn't a one-off trip for us. We know which exposures on the bay side take the worst of the weather, and we build the install accordingly.
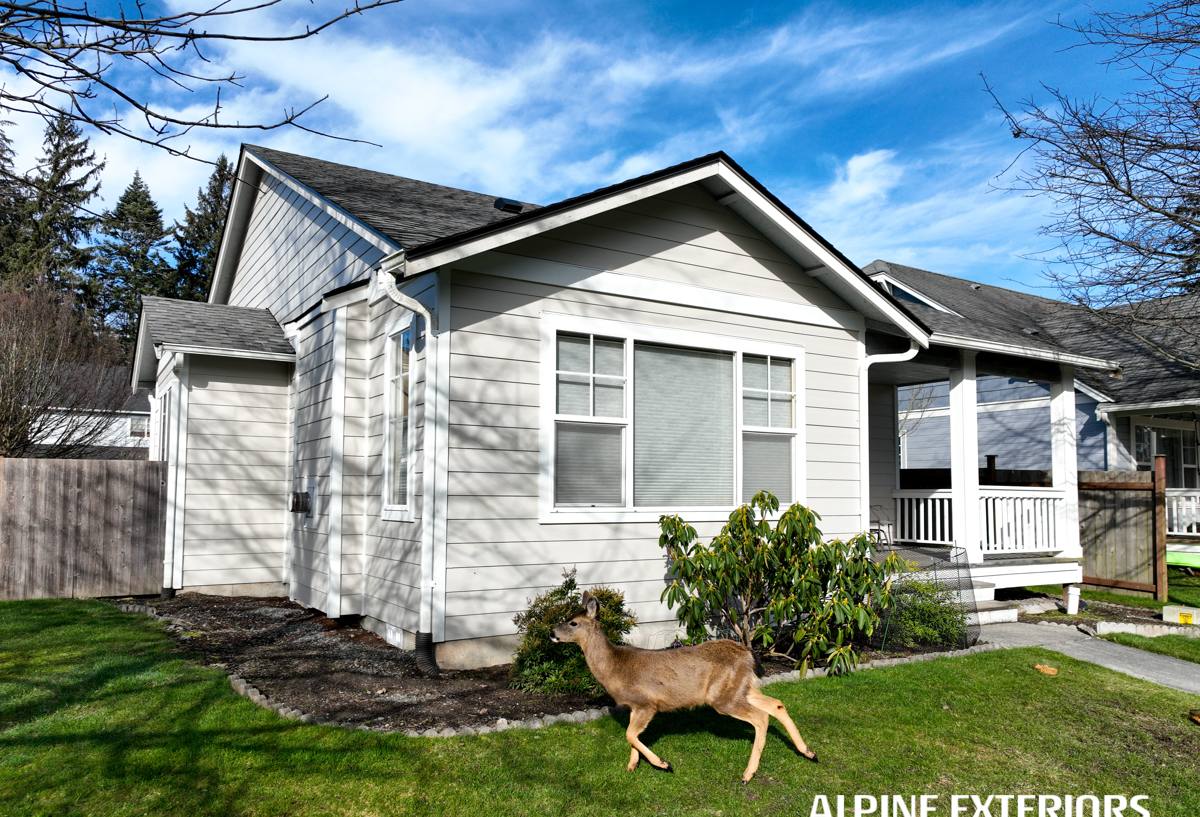
What Salt Air and Driving Rain Actually Do to a Window Opening
Salt air
Salt in the air accelerates corrosion on any exposed metal fasteners, hardware, and some window frame components. It also breaks down cheaper sealants faster than inland use would suggest. This doesn't mean every window needs to be marine-grade, but it does mean we pay attention to fastener material and sealant selection for anything within the bay's direct air path.
Driving rain
Wind off the water pushes rain into gaps that would stay dry in a calm rain event. A window that's watertight in a still downpour can still leak in a Birch Bay windstorm if the flashing details around the rough opening aren't built for wind-driven water. This is almost always a flashing and sealing issue, not a "bad window" issue — even a premium window will leak if the opening underneath it wasn't detailed correctly.
Moss and prolonged dampness
Whatcom County's wet season runs long, and anything that traps moisture against wood trim, sills, or siding around a window opening becomes a growth surface for moss and algae over a few seasons. That's a maintenance and rot issue more than a cosmetic one — trapped moisture is what eventually leads to soft sills and hidden sheathing damage.
What a Correct Window Installation Involves
A proper install is mostly about what happens before the window is set, not the window itself. Here's the sequence we follow on every Birch Bay job:
- Remove the old window and inspect the rough opening for rot, soft wood, or existing water staining before anything new goes in.
- Repair or replace any damaged framing or sheathing — installing a new window into a compromised opening just hides the problem for a few years.
- Install a sloped sill pan flashing so any water that does get past the window drains back out, rather than sitting on the sill.
- Apply weather-resistant barrier and flashing tape in the correct shingle-lap order (bottom to top) so water is always directed outward and downward, never trapped behind a layer.
- Set the window level, plumb, and square, then fasten per manufacturer spec.
- Seal and insulate the gap between the window frame and rough opening — done right, not just packed with whatever's on hand.
- Finish exterior trim and caulking with a sealant rated for the exposure, and interior trim to match the home.
Skip or rush any one of these steps and the window can still look fine for a year or two while water quietly works its way into the wall behind it.
Window Types and How They Hold Up on the Bay
| Window Type | Typical Fit for Birch Bay | Trade-Offs to Know |
|---|---|---|
| Vinyl, fusion-welded frame | Good all-around choice; low maintenance, resists moisture well | Fewer color/finish options than fiberglass; frame flexes slightly in large sizes |
| Fiberglass | Strong choice for direct wind/water exposure near the shoreline | Higher upfront cost; fewer installers stock it, so lead times can run longer |
| Aluminum-clad wood | Good look, but needs more attention to sealant and drainage detailing | Wood interior means moisture intrusion is more costly to repair if flashing fails |
| Aluminum frame (uninsulated) | Not something we recommend for bay-exposed walls | Conducts cold and can condense/sweat heavily in wet, cool climates like ours |
We don't push a single brand or material as the answer for every home. The right call depends on the wall's exposure, the home's existing trim and siding, and the homeowner's maintenance appetite. We'll walk through the honest trade-offs for your specific walls rather than defaulting to whatever's easiest to install.
Why We Standardize on Certain Products
We're selective about which window lines and flashing systems we use, and it's worth explaining why. Some lower-cost window assemblies use sealant and gasket materials that don't hold up as well to UV and salt exposure over time, which shows up as hardening, cracking, or shrinking gaskets years down the road — a slow failure that's easy to miss until a leak shows up. We also avoid installation shortcuts like relying on caulk alone in place of proper flashing tape and sill pans; caulk is a maintenance item, not a waterproofing system, and it's the first thing to fail in driving rain. These aren't judgments on any one brand — they're standards we hold ourselves to because redoing a leaking window install costs everyone more than doing the flashing right the first time.
Our Process for a Birch Bay Window Job
- Free on-site estimate — we look at your actual openings, siding condition, and exposure, not just the window count
- Written scope covering window specs, flashing method, and trim finish, so there's no ambiguity about what's included
- Rough opening inspection at removal — if we find rot or hidden damage, we flag it and price it before proceeding, not after
- Full flashing and drainage detailing on every window, every time — this isn't an upgrade option, it's the baseline
- Interior and exterior trim finished to match the home
- Walkthrough at completion so you can see the finished work and ask questions before we consider the job done
Questions Worth Asking Before You Hire Anyone
- Will you inspect the rough opening for rot before installing, and what happens if you find damage?
- What's your flashing method — specifically, do you install a sloped sill pan?
- Are you using flashing tape in proper shingle-lap order, or relying mainly on caulk?
- What warranty covers labor and installation, separate from the manufacturer's product warranty?
- Have you worked on homes in Birch Bay or similar shoreline-exposed areas before?
Signs Your Current Windows Are Already Failing
If you're not sure whether replacement is even needed yet, a few signs are worth checking for before winter storms roll through: fogging or condensation between panes on double-pane units (a sign the seal has failed), soft or discolored trim and sills, visible gaps or daylight around the frame, windows that are noticeably harder to open and close than they used to be, and drafts you can feel near the frame on a windy day. Any one of these on its own isn't an emergency, but a window showing two or three of them is usually past the point where caulking and weatherstripping will fix it.
Cost Factors Worth Understanding
We're not going to quote a number here, because a fair price depends on specifics we can only assess on-site — but these are the factors that actually move the price, so you know what you're paying for when you get a quote:
| Factor | Why It Affects Cost |
|---|---|
| Number and size of window openings | Larger and more numerous openings mean more material and labor |
| Condition of the rough opening | Rot or water damage found during removal adds repair scope |
| Window material and glass package | Fiberglass and upgraded glass (e.g., higher-performance low-E) cost more than base vinyl |
| Exposure of the wall | Bay-facing walls often warrant more robust flashing detail, which adds labor time |
| Trim and finish work | Matching existing exterior trim profiles takes more time than standard trim |
Get an Honest Look at Your Windows
If you're weighing replacement, dealing with a window that's already leaking, or just want a straight answer on whether your current windows have a few good years left, we'll come take a look. The estimate is free, there's no pressure to book anything on the spot, and you'll get a clear explanation of what we'd actually do and why — not a sales pitch. Fill out the form below to get started.